Making My Own Wax Food Wraps
Wax food wraps really are one of the trendy low-waste choices at the moment. They are becoming a more and more common sight in supermarkets and high street stores, rather than just your local refill shop or Oxfam.
(No shade at all here, I am always happy to see low-waste choices hit the mainstream. We all need to do our bit, right?)
I had wondered how simple it would be to make your own wax wraps as I looked through a pile of offcuts I couldn't find a use for and, it turns out, it's quite straightforward! I commandeered a recipe from Apartment Therapy and hunted down some wax beads on Etsy. You can find bags large or small of beeswax or vegan wax on Etsy, which I was grateful for as buying off of Amazon is something I'm cutting out of my life for good come 2020.
The basic steps are as follows:
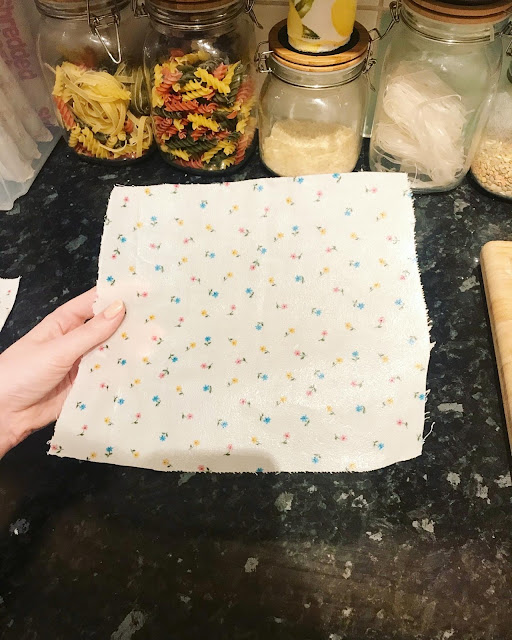
- Decide on what material you're going to use - I think this is the perfect way to use offcuts from other craft projects you may have done, or torn up rags from old clothes that weren't in good enough condition to donate to charity shops. I didn't tidy up the edges of my offcuts as this was just an experiment that I didn't intend to go so well, but you can always neaten yours up into slightly more regular shapes.
- Lay your offcut (I did this one piece at a time for ease) on a baking tray lined with whatever sort of protectant you want to use. Whether silicon or greaseproof or something else, it's your choice. This will protect the baking tray from getting waxy, but it's relatively easy to get off if you do have spillage.
- Preheat your oven/grill. Whilst this is warming up, sprinkle a light covering of the wax beads on top of your offcut. You don't need a lot as this will melt and spread quite easily, but you can always add more if there's not enough.
- Pop your tray with the offcut and wax beads under the heat and it will very quickly melt. Now it's time to check if the entire piece of material has been coated with wax. If not, as said before, you can add more beads and return the tray to the heat.
- If you're happy with the coverage, quickly take the material by one corner and give it a gentle wave whilst the wax starts to solidify. You could also clip this up somewhere to dry, but I found it took no time at all and it was easy enough not to burn myself.
- And you're done! Once cooled, your wax wraps are ready to use. After a few uses they can get a bit cracked and lined. Simply pop them back under the grill until melted again and they'll be good as new. Be careful when washing - putting them in the washing up bowl of warm water will start to melt the wax, so I give them a quick wipe down with cooler water and leave them to air dry.
There we have it: homemade wax wraps. This can come out a lot cheaper than shop-bought food wraps if you've got some fabric lying around as you'll only need to pay for the beads, and these normally come in large quantities, meaning you can make wax wraps to your hearts content. Maybe make some as a gift for a friend!


Comments
Post a Comment